Thursday, February 27, 2014

Faux Bricks: The Beginning


The downstairs bedrooms of our new to us house look like somewhere you would hold someone hostage.  They are really terrible.  It doesn't help that we are storing the chairs we used in a Zombie themed party we hosted last year...  I hate the texture on the bottom half of the room, but we weren't sure what to do.  I thought about bead-board, faux stones, etc, but most of the options are really expensive.  Faux brick and faux stone would have cost well more than $500, so that option got dropped pretty quickly.  So, I decided to make my own faux brick.

This is the wall I decided to start with in case it turned out terrible.  Yes, that very tiny wall.

After I primed the wall, as seen above, I got the materials I needed:  1/2 inch tape (I found this in the electrical tape section), painters tape, joint compound, a putty knife, a ruler, a level, and a marker or pencil.  I measured out 9"x3" bricks and taped them off with the electrical tape.  I taped off the edge of the wall with the painters tape.  This also helped keep the ends of the electrical tape down.


Next came the fun part.  I put some joint compound on my putty knife and started to add my bricks.

For a more real look, I took a plastic fork to add additional texture to some of the bricks.


When the joint compound begins to dry but not yet hardened, it will begin to lose its shine.  This is when to pull off the tape.

The edges looked a little too raised, so when the compound became dry enough to not be sticky, but still wet enough to shape with my fingers, I very lightly touched them with my finger to flatten the edge.

 
 This gave the bricks a more realistic edge.

Once I finished the whole thing, it looked really stinkin cool, if I do say so myself.  :)


One more time, with feeling.

  
I debated on painting them brick colored, but I really like the look in grays.  I am going to go over the whole thing with primer, then paint them.  I am just really happy about the new texture, which looks tons better than it looked before.  It will take a while to do the bottom of the entire room this way, but this was waaaaaay cheaper, and it looks darn good.  Yay!

Wednesday, July 31, 2013

Finding Stuff on the Cheap

There is nothing like the word free... even when it looks like this...  We found a chair that was on its way to being thrown away, and though I usually would let it go on its merry way, I have been interested in attempting re-upholstering, and this chair is particularly amazing.  At least it will be one day...  For now, I am thankful that we have tons of storage.


We also acquired this next beauty for a grand total of $30.  Though in probably a decent amount of $ in fabric to recover, it will be perfect when finished.

 
At least, unlike the other one, we can keep this one indoors!

Monday, June 24, 2013

Always time for cake!

A lot of good stuff has been going on with the house, but life goes on around us.  I made this robot cake recently for one of my friend's birthdays.  I love anybody in their 30s who still wants a robot cake for their birthday!!!

For the color, I mixed in 2-3 drops of blue liquid food coloring and 1 drop red in a large batch of frosting, which made a nice light purple that looked more gray than purple.  I arranged the cupcakes, and I used donut holes on top of the head and on the sides of the head. Then, I piped the cupcakes and took some edible silver spray and sprayed the whole thing down.  This did less than I expected to the color.  (The body has the spray, but around the eyes do not, so you judge for yourself.) 

Once the piping was done, I iced 2 more donut holes with white frosting and popped those on for eyes, piping around them to hold them in place, and give the robot eyelids.  (That is the part I was talking about that doesn't have silver spray.)  I used airheads, candy dots, and m&ms for the decorations, and whala!  Robot cupcake cake!


Thursday, June 20, 2013

Fixed Pillars and New Roof

Here they are, the new pretty pillars.  It is amazing how much of a difference they make as far as the look of the whole house!


This is the before.
And this next one is the after, with the new roof too:


Thursday, May 23, 2013

Updates, get 'em while they are fresh!

I guess it is a good thing that we have been so busy I keep forgetting to blog... I will post more detailed pictures of each of these things soon, but here is a quick update on how the house is coming along. 

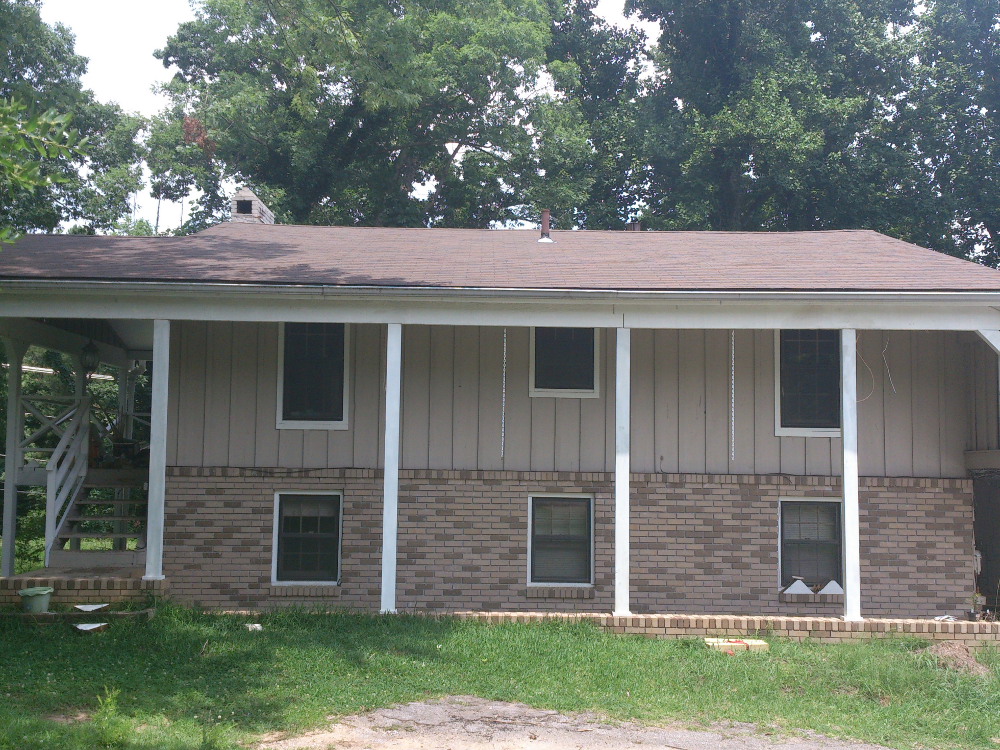
One of the biggest problems we had was that the columns on the outside of the house were rotting, so we had to replace them.

Yucky rotting wood...

And here was our contraption to fix it!  We used a short board and a car jack next to the bad beams so they would be easy to pull down.

Another thing that needed to be replaced was some smashed tile downstairs.  When we dug it up, we realized it was real marble, so we knew we would NEVER find marble that would match the original for goodness knows how many years ago.  We went to a local salvage store, and low and behold, actually found some that was pretty darn close!  It looks just fine against the old marble, and as soon as we seal it and shine the old pieces, we are pretty sure you won't be able to tell a difference unless you are looking for it.

Smashed tile...

New tile sitting next to old tile.  This is before we laid the tile, because apparently 12x12 doesn't always mean 12x12, because the old tiles were closer to 11 3/4 inches, so we had to shave a little off of the new tile.  Finished pics will happen as soon as I get the chance to take some. 

Onward to our pain in the neck project, removing the texture from the kitchen.  This is one of those projects we thought we would knock out in no time and be done with it, but man, did it take forever.  Here is proof, though, that we got it done.  Finished pics to follow.

I love the paint color... :)
Follow up to smoothing out the kitchen walls, we decided to go ahead and do the walls in the upstairs bathroom because the texture looked like what you would put on a popcorn ceiling.  It is almost finished, thank goodness, but here is a during shot:

Ahhhh... plaster...

And the thing I am probably the most excited about now, the floor under the carpet is gorgeous!  We have gotten as far as pulling up the old carpet and padding, and are working on pulling up carpet tacks and tack strips.  Not a fun job, but the floor is totally going to be worth it.

The floors are gorgeous!  To top it off, they are in really good shape, so it won't be as big of a nightmare to fix them as I thought it might have been...  We actually have this room painted now, but I might wait for the big reveal for when the floors are finished.
And icing on the cake...
We have two laundry rooms, a walk in laundry room in the main house that will hold our full sized units, and space for a stack-able unit in the walk in closet in the guest house.  I found a unit on craigslist for $175, which is awesome, that is in really good condition, so it is set up now, which is making it easier to transition to the new house.  We now have 90% of our clothes moved to the new house and can keep them clean there!  :)

Three cheers for clean laundry at the new house!!!
Lastly, we were worried about having a drainage problem because of the way the front of the house is set up, because all the water from the front of the house would gather and set in-between the carport and the guesthouse.  But lookie what we found!  When cleaning out leaves and around the grounds, we unearthed a drain in the very spot the water would sit, so now we know our drainage problem won't be an issue.

Finally the water has somewhere to go!
And, that is all for now.  There are more pictures of some of the things above that are finished now, but all in good time...

Monday, April 29, 2013

A Seussical Baby shower!

I am about to be an aunt to a little girl, so we took time off from the house to put together a baby shower.  Here are some pictures of the, "Oh, the Places You'll Go" Dr. Seuss baby shower, including lots of appearances from the Lorax. 


"Oh, the Places You'll Go" colored cake.  This is a classic petal cake, which there are tons of tutorials for online if you want to make one. The stand is made from an old chandelier, and around the cake are multi-colored homemade butter mints.

This is the Mommy seat, so she could be comfortable while opening gifts.  Yes, I made the hat.  :)

Amy behind her gift table wearing her fancy new hat.

Drink and plate table.

Here are all the food tables.
Here is a close up of the balloons that we hung from the ceiling.  They were made from construction paper, ribbons, and the baskets were mini cupcake liners.  Also, yes, those are multi-colored table cloths from the Dollar Tree.

Picture corner with Mom-to-be.

And a lovely young lady showing off the Lorax mustaches.
Here was the invitation.

Friday, April 12, 2013

My orange and white library!

A few of our rooms are coming together nicely.  We finished painting the library (thank you all my helpers) and I have my curtains all picked out.  I wanted an orange and white library, and it is incredibly hard to find orange and white curtains, but I lucked across exactly what I was looking for at the fabric store and bought enough yards for two windows and some throw pillows.  Here is what it looks like so far:

Here is the fabric that started it all.  It is a bright mandarin orange color on a linen type white fabric.

The color looks great in person, I promise.  I am not usually a fan of extremely neutral walls, but the plan is to paint all the trim work bright white (it is a light beige now), add the bright curtains, change out the light fixture for something more contemporary, bright white book shelves, sitting chairs, and lots of map art.
Coming soon, pictures of the process of changing out the columns in the front of the house.  Hopefully, they will be finished by the end of this weekend!  Wish us luck!